
In the last article, we set up a Debian VPS and used it to install the Hestia Control Panel. In this article, we will point our domain name from Canhost to our VPS IP address. We will then create a new Hestia User and install our domain name on the new user account. We will then use Hestia to create a database and use the Hestia File Manager to create a Joomla 4 website.
Step 1 Use your VPS Primary IP address to point your Domain Name to your VPS server.
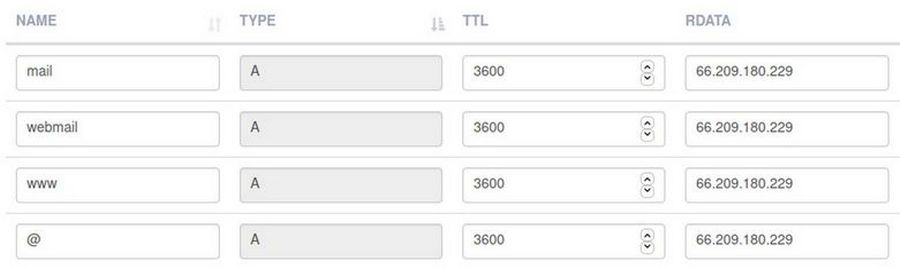
Here we will assume that you have already set up your Hestia VPS using a different domain name. Log into your Canhost account and click on Domains. Click on Name servers. Make sure they are set to be the default Canhost servers. Then click on My DNS. This opens the Canhost DNS Manager. By default, the Zone records point to the Canhost IP address. Delete the IP addresses in the first four records - which are all A records, and replace these IP addresses with the IP address of your own VPS.
Click Save. Then click Add Record to create a CAA record:
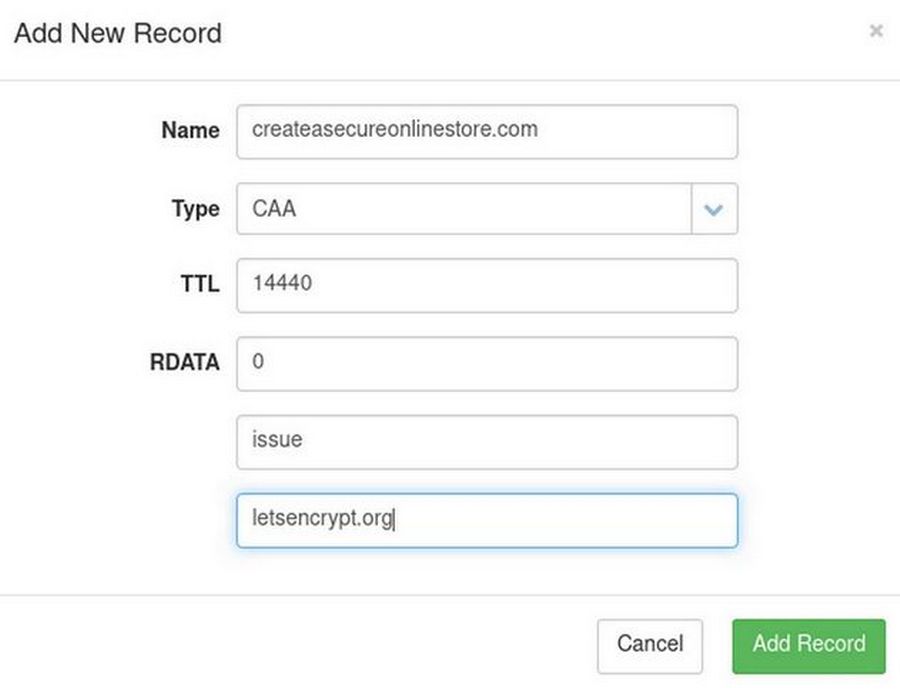
Your domain name goes in the top box. Type is changed to CAA. Rdata is the number 0. The next box, type issue and the bottom box, type letsencrypt.org. Then click Add Record. The second CAA record is the same only replace the word issue with issuewild. Leave the remaining DNS records in place. They are needed to connect your domain name to the Canhost servers. Then click Save Changes.
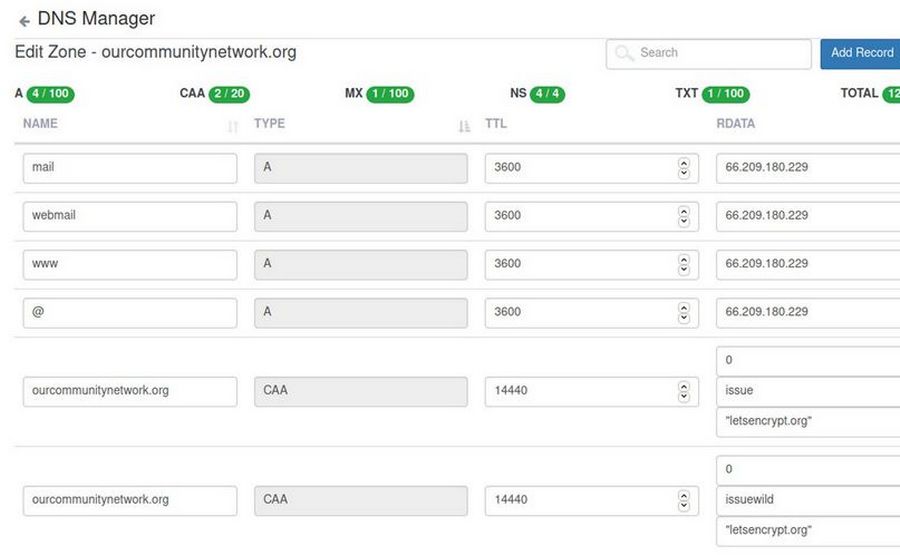
When we are done, the first six DNS Zone Records will look like this:
Step 2 Create a New Hestia User
It is very important to create a new user for the admin as this will create a wall for hackers preventing them from reaching the Admin Control Panel should they ever manage to break into an individual user account or website. In short, all websites should be created by Hestia users and not by Hestia administrators. Click Add User.
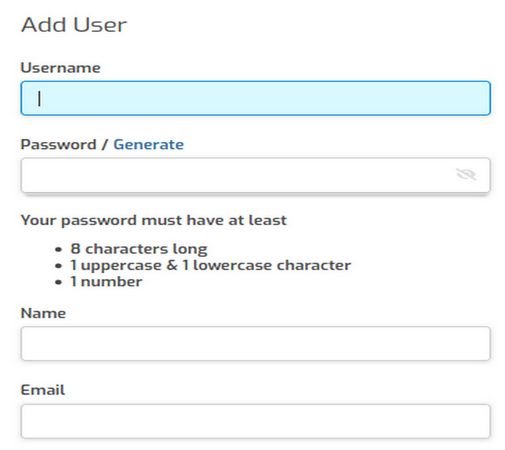
Type in an easy to remember username and easy to remember password. Then type in the User Name and email address.
Click Save and Back to return to the Users screen. Then click on the arrow to the right of new user to go to the Hestia user account.
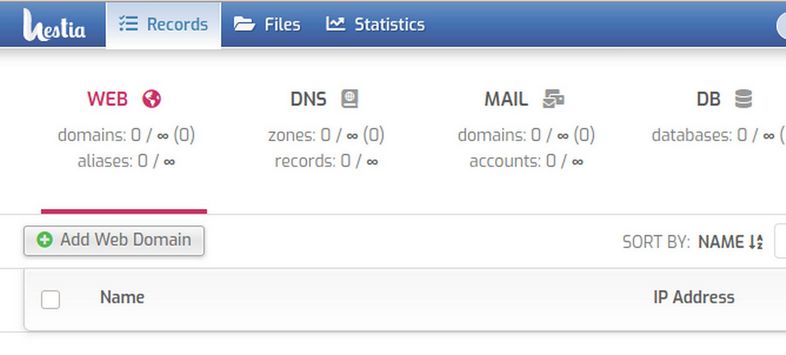
The Hestia User screen has fewer items that the Hestia Admin screen. The main areas we will use are Add Web Address, DB - to create databases for Joomla websites and Files - to add files for Joomla websites.
Step 3 Add your Web Domain to your Hestia User account
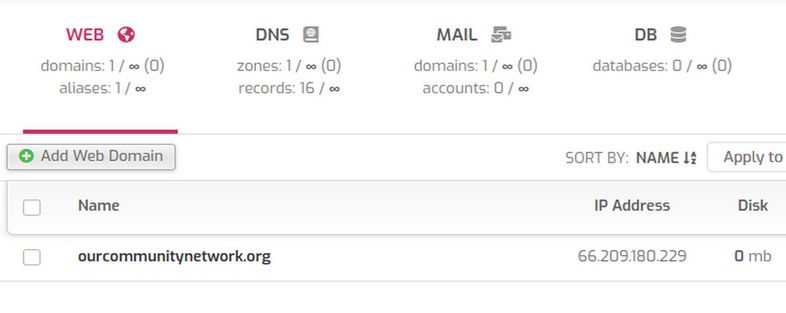
Click Add Web Domain to add a new web domain. We will add the domain name ourcommunitynetwork.org. Also check Create a DNS zone and Create Mail.
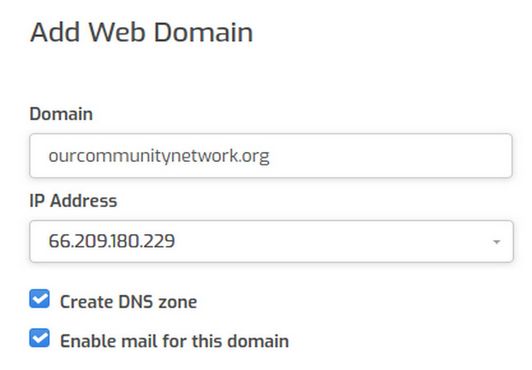
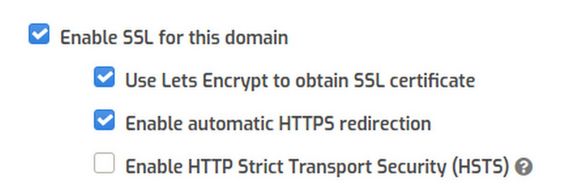
Type in your domain name and check Create DNS Zone and Enable mail. Then click Save and Back. Then edit the domain name again. Check Enable SSL for this domain. Then check Use Lets Encrypt.
Then click Save and wait for the Certificate to be installed. It will eventually say Changes have been saved. Then click Back.
Step 4 Get an SSL certificate for your Mail Domain
Click on the MAIL icon in the top menu. Then click on the hidden Edit pencil. Then click Enable SSL and Use Lets Encrypt. Then click Save. Then wait for the green notice "Changes have been saved." Then click on the Back arrow.
Step 5 Add a secure domain based email
Click on the hidden plus sign that is just to the right of the mail domain name. It is called Add Mail Account. Enter an account name. For example, above I have added the account name david which will give me an email address of
Next, click on Advanced Options and place your collector email address in the Forward To box. Then click Save and Back. Then click Back again. Then click on the hidden up arrow to open Webmail. Enter your new custom email address and your password. Then click Login. Click Compose and send a test email. Click Send. Then log out. Log into your normal email account to verify the email was sent.
Step 6 Create a database to use during Joomla installation
A major benefit of Hestia is that it makes it very easy to create a database. Just click on DB in the Hestia User top menu. Then click Add Database. Give the database a short name and username. Note that the full database and username includes the Hestia username and an underscore. Also add a password. Then copy paste the db name, username and password into a Writer document and save the Writer document because we will need this information when we create our Joomla 4 website. Click Save and Back.
Step 7 Download the latest version of Joomla 4 Installer
Go to Joomla.org and download Joomla 4.x. Here is the direct link:
https://downloads.joomla.org/cms
Currently, it is Joomla 4.2.5. This will download a zip file to your Downloads folder.
Step 8 Upload the Joomla 4.x Zipped File to public_html
In the Hestia User screen, click on Files in the top menu. Then click Web, your domain name and public_html:
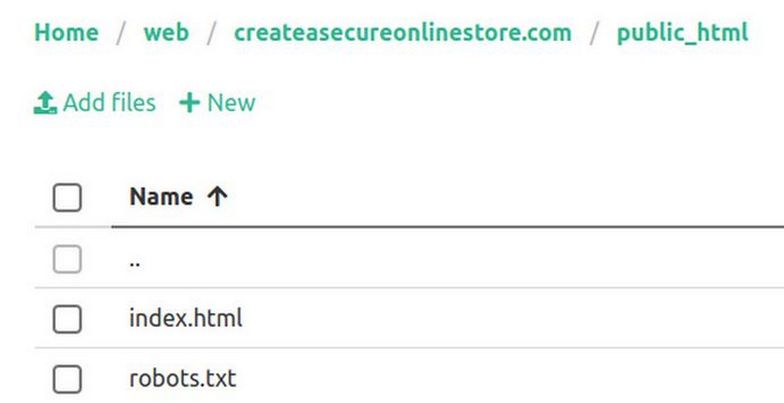
Click Add files and navigate to your Joomla 4 zipped file and select it. Wait for it to upload. Then click on the three dots at the right end of the zip folder and click Unzip. When it is done, there will be lots of folders and files in the public_html folder.
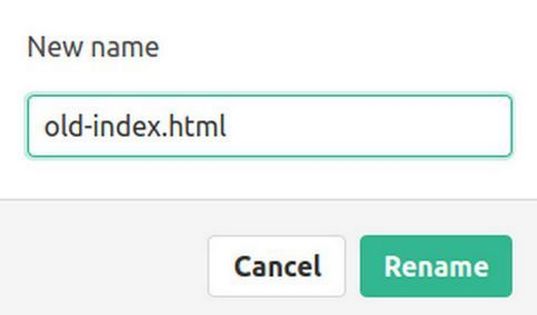
Find the Joomla zipped folder and click on the three dots. Then click Delete to delete the zipped folder. Then find the index.html file and click on the three dots and click Rename to rename it old-index.html.
Also find the file htaccess.txt and rename it .htaccess (aka dot htaccess). Also click on the images folder and delete all of the folders and images inside of the images folder. Then scroll up and click Exit to Control Panel.
Step 10 Start the Joomla 4 Installer
Click on the arrow to the right of the domain name to open a new browser tab and go to the Joomla installation first screen:
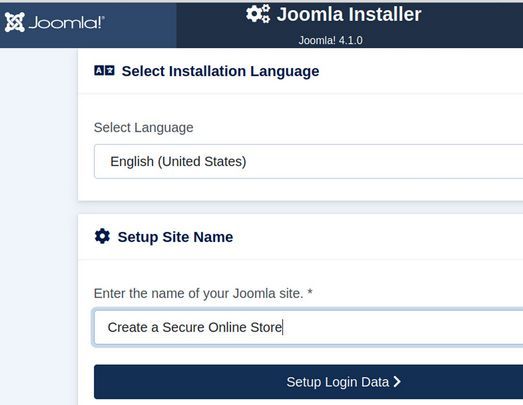
Tip: If the prior default Hestia page comes up instead, rather than clearing the browser tab, which will log you out of the Hestia panel, just copy the website URL into a browser tab on a different browser. Change the language to US English and type in the name of your website. Then click Setup Login Data. Enter your name, username, password and the custom email address we just created. Then click Setup Database.
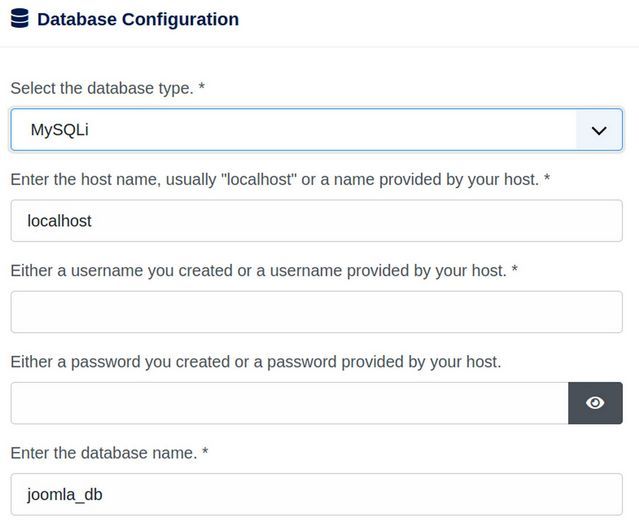
Type in your database username and password. Then delete the database name joomla_db and replace it with your real database name we just created. Then click Install Joomla.
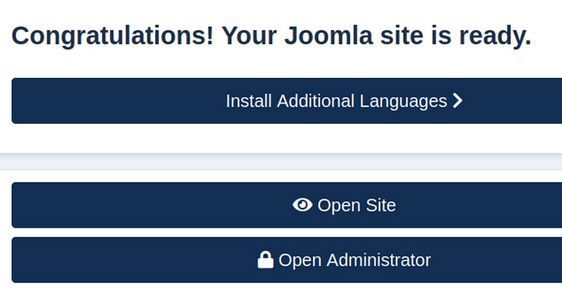
Click Open Administrator
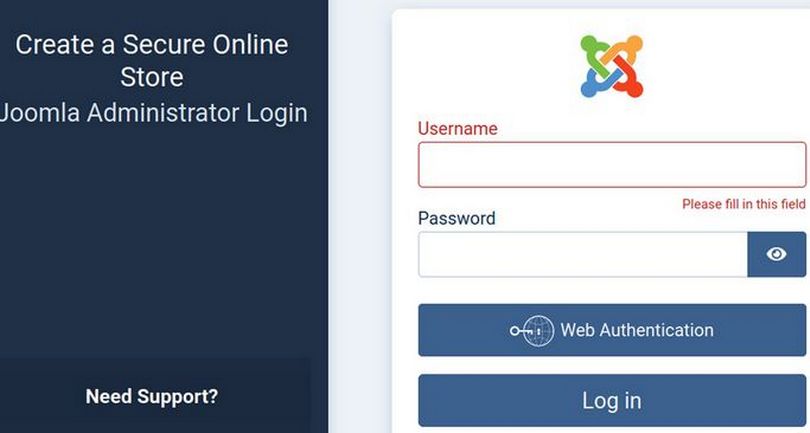
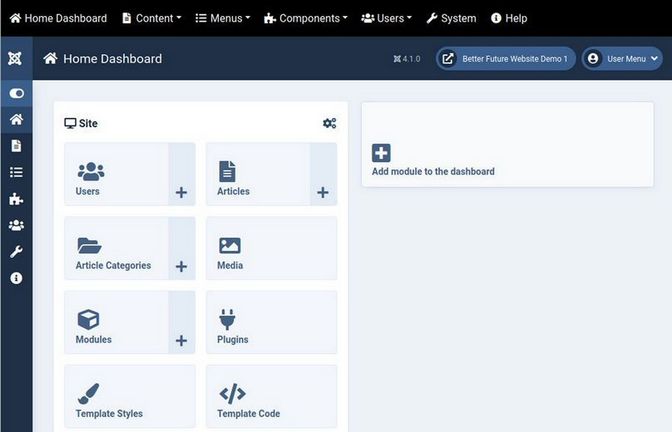
Step 11 Log into your new Joomla website admin dashboard
Type in your Joomla admin username and password and click Log in.
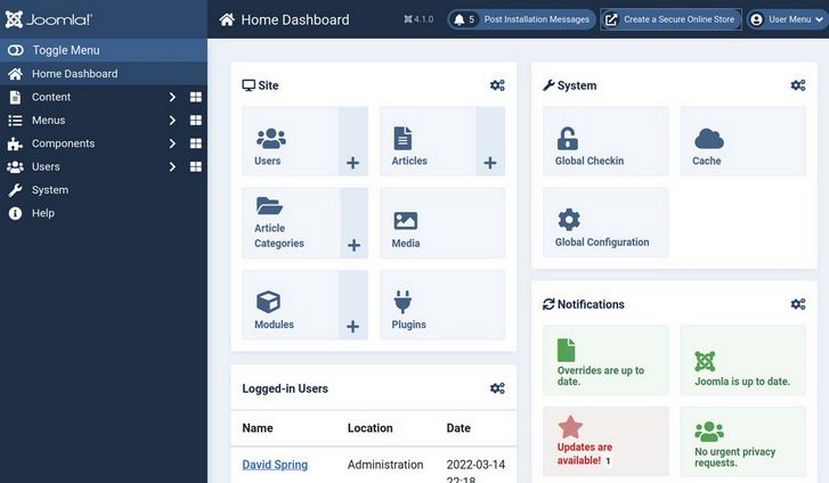
There are 9 modules displayed in the main area plus a Main Menu in the sidebar (with 30 hidden links) and 5 more links in the top bar. The System menu item has 31 more links. Many you will never use.
Click on your website name in the top menu to visit the public side of your website:
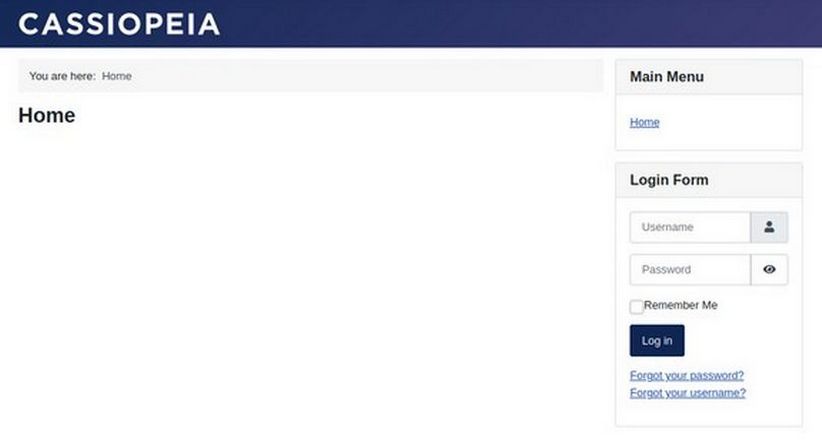
Sadly, the Joomla 4 Cassiopeia template does not even display our website name. Even worse, it also displays our Login form on the front end – which will quickly lead to spammer attacks trying to guess usernames and passwords. Go back to the Dashboard and click on Modules. Then select and unpublish the log in module. Also go to System, Global Configuration, System Tab and change Session Lifetime from 15 minutes to 99 minutes. Also change URL rewriting from No to Yes. If Use URL Rewriting is set to NO, the URL to this content article page will include “index.php” which is bad because this can confuse your readers. http://mysite.com/index.php/getting-started
When this parameter is set for YES, Joomla will use the rewrite function of Apache web servers to eliminate the index.php part of each URL. This will change the example URL above to a shorter and more understandable link such as http://my><a< a=""> href="http://mysite.com/getting-started">website.com/getting-started</a<>
Note that the file htaccess.txt must have been renamed to .htacess. There is a dot placed in front of the word htaccess. We did this before installing Joomla right after we renamed the index.html file.
In the Site tab, scroll down to Meta Settings and add our Meta Description. This will help search engines properly categorize your website. Your site meta description should be no more than 160 characters – or about 20 words long.
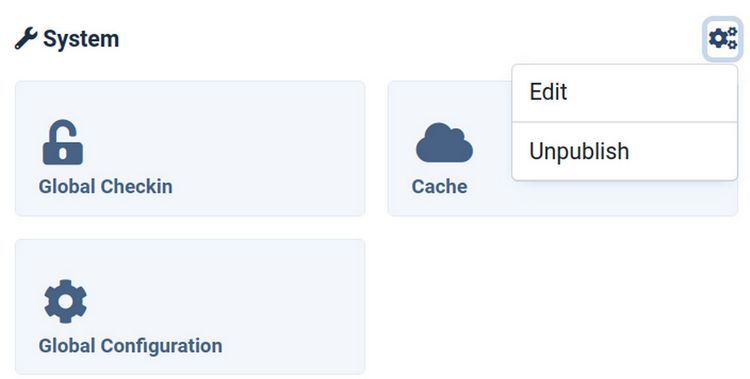
Step 12 Delete Most of the Admin Modules
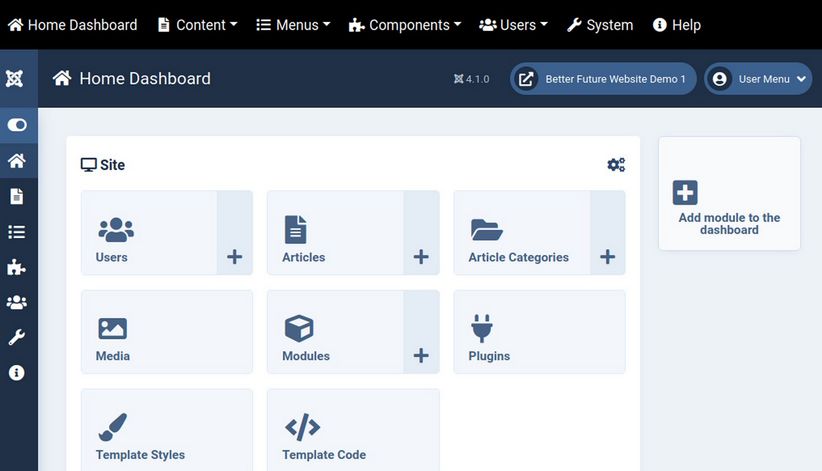
The Dashboard looks a lot less confusing if you delete some of the admin modules. We will therefore delete all of the Admin modules except the Site module. Click on the setting wheel icon in the upper right corner of the System module and click Unpublish:
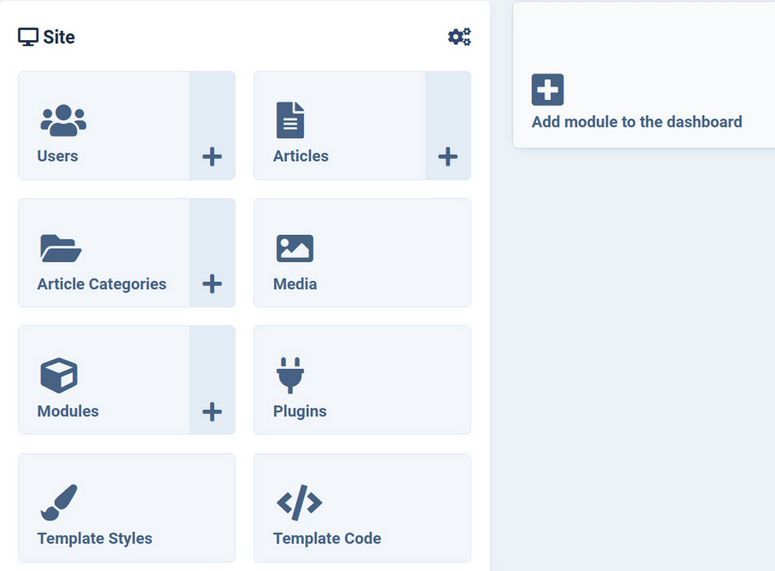
Repeat to unpublish the Notifications, Sample Data, Latest Actions, Privacy Dashboard, Logged in Users, Popular Articles and Recently Added Articles. Then click on the Settings wheel for the Site module and click Edit. Change Media, Template Styles and Template Code from Hide to Show. Here is the result:
Add a Top Menu for easier Side by Side Editing
One of the most important web building skills I teach my students is using Side by Side Editing. This process involves using a text and image editor like Libre Writer to create the content for your website. Then having a web browser open to your Joomla Dashboard next to the Libre Writer workspace to copy and paste content from your Writer document to your Joomla website dashboard. Here is what side by side editing looks like on a 15 inch laptop screen.

The Joomla 4 Dashboard is radically different from the Joomla 3 Dashboard in that the main menu was moved from the top of the screen to the left side. The problem with this move is that it makes it much harder to do side by side ending. Thankfully, there is an easy way to fix this problem. There is a free extension on the Joomla Extensions Directory that adds a top menu. Here is the download link: https://www.phoca.cz/download/category/123-phoca-top-menu-module
Click Systems, Extensions, Install to install this extension. Then go to the Module Manager and change the display from Site to Administrator. Then click on the Phoca Top Menu Module to edit it. Change the position to Custom Top and publish the module. Click Save and Close and return to the Dashboard. Here is the result:

To hide the side menu, click Toggle Menu at the top of the side menu.
The Add Module box is still taking up way too much room. We need to add one line of CSS to the Admin template, called Atum to fix this problem. Go to Templates, Code and change the screen from Site to Administrator. Then click on Atum Details and Files. Then click New File. In the File Name box, type user. For File Type, select .css. Then click on the css file in the left column to select it.
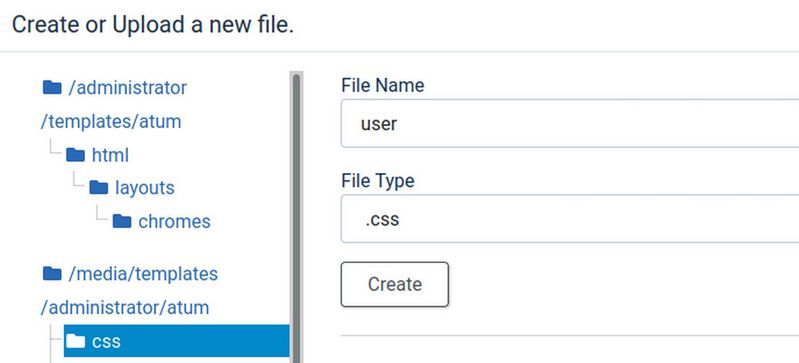
Then click Create. Then copy paste the following into Line 1
.card-columns {grid-template-columns: 4fr 1fr;}
Then click Save and Close. Then click Close. Then click Home Dashboard. Then clear the browser cache. Then log back in.
We now have a Joomla 4 Dashboard that can be narrow enough to work with side by side editing. Close log out of your Joomla control panel by clicking on the person icon in the upper right corner. Then log out of your Hestia user screen and admin screen.
What's Next?
Now that you know how to use Hestia to create a Joomla website, in the next article, we will review how to add some important security extensions as well as the JCE Editor and the Helix Ultimate Template to our new Joomla website.